COMPUTE ON BLOCKCHAIN
ETH-equivalent Transactions
Not all Transactions are equal. ICP performs ~80x the amount of computational work of Ethereum per transaction. Learn More
Chain Fusion Technology
Blockchain
as cloud 3.0
Ecosystem links
Live stats
Start coding
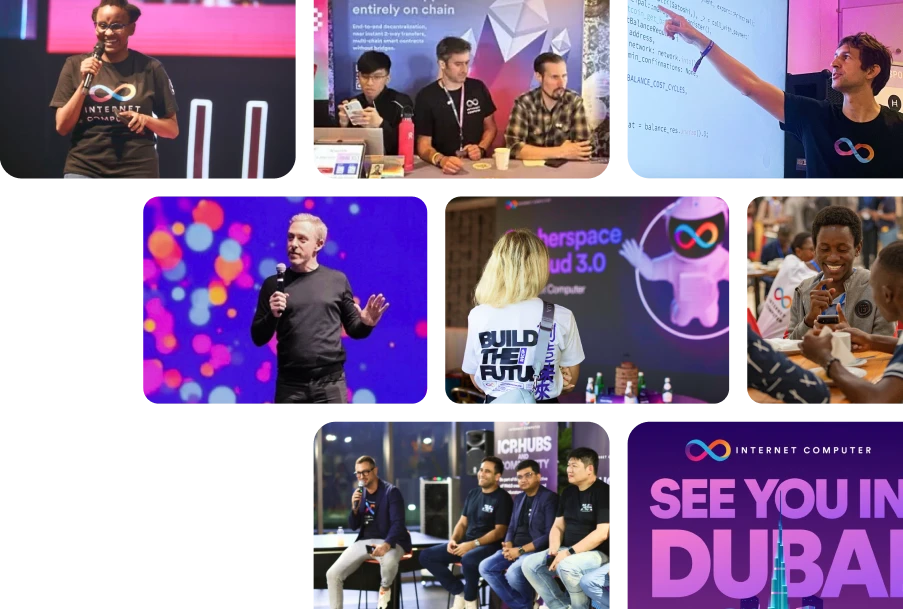
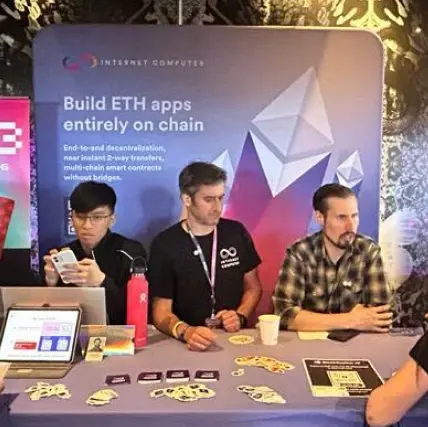
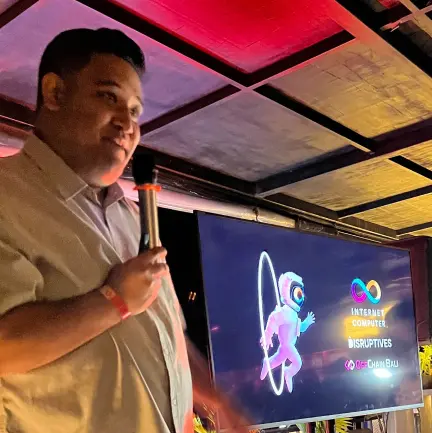
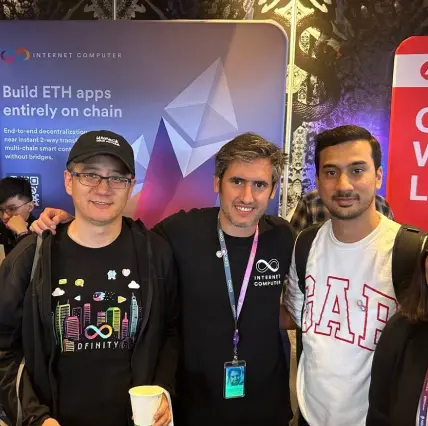
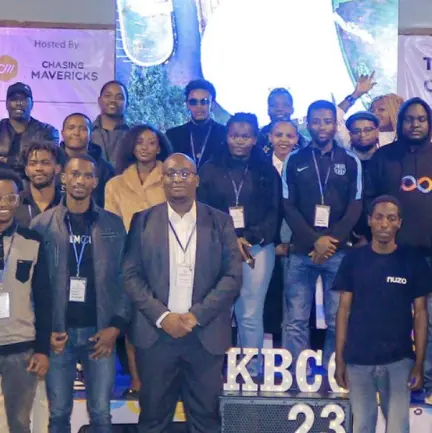
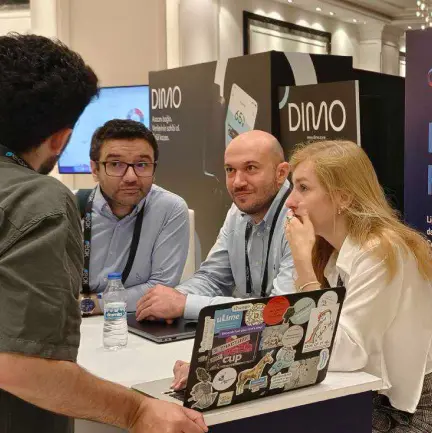
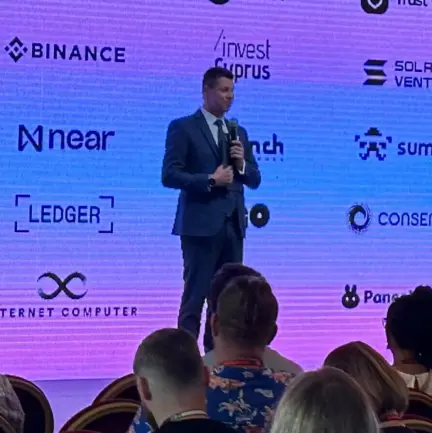
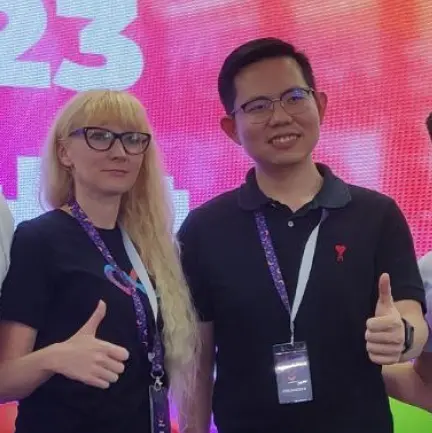
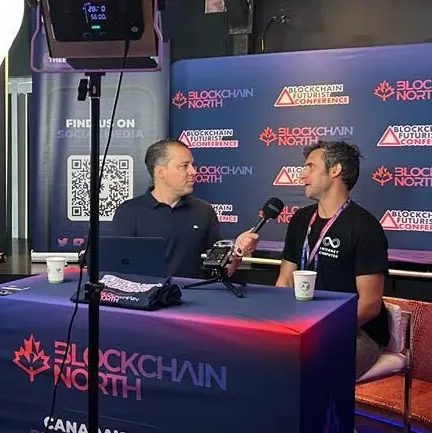
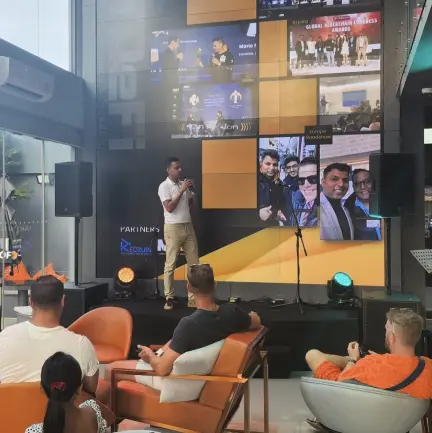
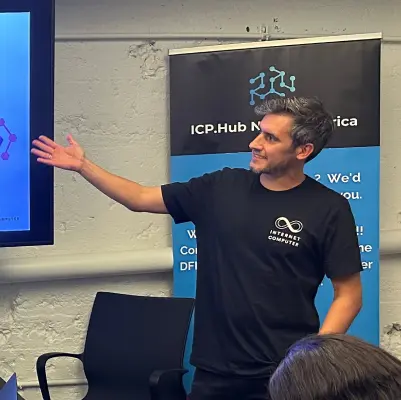
Meet the community worldwide
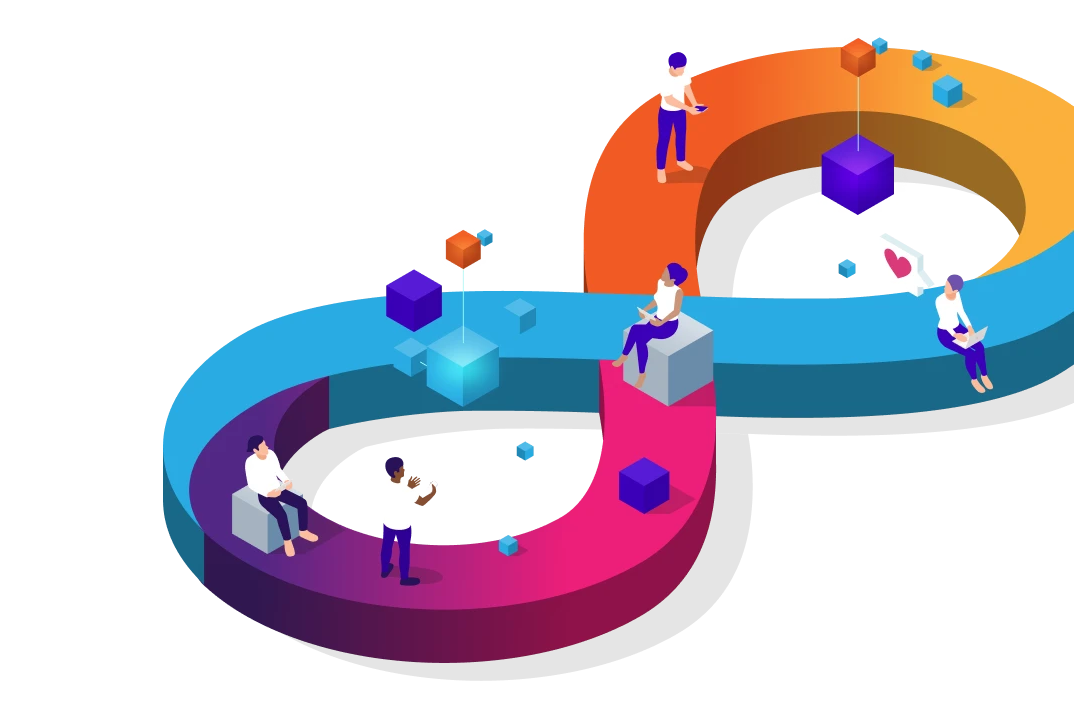
What is the Internet Computer
The Internet Computer adds autonomous serverless cloud functionality to the public internet.
Blockchain as a service
The future of cloud is serverless: for enterprise, government and Web3 applications – Build with Cloud 3.0.
Open Internet Services
Now internet communities take full and exclusive control and ownership of entire internet services – Create your first DAO on true Web 3.0.
Your Web3 ID
Web2 relies on usernames and passwords for authentication – Internet Identity is the most secure authentification for Web2 and Web3.
Join, collaborate and connect
The ICP community is currently active in around 30 countries and collaborates with up to 50 well-known crypto organizations and 32 universities. Haven't joined yet? What are you waiting for?


Amazing, you made it this far. Discover more ICP key features:
Sovereign network
If your enterprise, government or Web3 service builds on centralized traditional IT, there are kill switches and backdoors, which deny you true sovereignty. Build on the network instead.
Web2 compatible
Googleable Web experiences served by Smart contracts. True World Computer capabilities with Web2 APIs validated by consensus.
Multi-Chain
The Internet Computer is currently adding support for Web3 “AI compute units.” AI will also run on the network, supporting native web3 integrations, and trustlessness combinations of models and data.
Tamperproof
Canister software is tamperproof through Chain-Key Cryptography. It doesn’t need to be protected by a firewall, and can’t be infected with ransomware. Because the Internet Computer is created by advanced math, there are no backdoors.
Autonomous
Canisters can be made unmodifiable, creating permanent logic on the network, or placed under the control of autonomous governance – empowering communities to run Web3, or securing an enterprise
Cost effective
The global spend on IT personnel is now $1.8 trillion. Canister software greatly simplifies the development and maintenance of online systems and services, driving cost savings, and making you faster to market
$5 / GB / year

Transparently sustainable blockchain
Scalability and utility with low carbon cost — the Internet Computer is committed to building green tech, not just making claims about it.

Become a Web3 pioneer
Start a DAO, create a token, build dapps and host assets with the full stack entirely on-chain.
BUILD REAL WEB3Dev forum
Engage with the ICP community to shape future features, propose new ideas, and ask questions.
Dev docs
Get to know the concepts, architecture and technical breakthroughs that enable the ICP. Plus step-by-step guides on how to stake your tokens, and more.
Sample code
From a simple DEX, to on-chain encrypted storage, NFT minting, and a basic DAO, learn how to build on the Internet Computer.
Motoko playground
Play around with Motoko, the native language of the Internet Computer, right in the browser without having to download the SDK.
The blockchain industry's
Skunk Works
Team members
270+Publications
1564Citations
86,347Patents
191The DFINITY Foundation is committed to realizing the most disruptive vision in tech: the adoption of public blockchain as a single technology stack that hosts all of humanity’s systems and services.