Juno quickstart
Overview
Juno is a blockchain-as-a-service platform designed as an alternative to Google Firebase that enables developers to build decentralized applications on ICP.
Unlike the traditional developer workflow on ICP, Juno doesn't require any prerequisite ICP-specific tools to be downloaded, such as dfx. Developers can deploy Juno satellites (Web3 containers that use ICP canisters in the background) without writing backend code. Juno is primarily used for hosting JavaScript applications, and supports several JavaScript frameworks such as Angular, React, and Next.js.
This quickstart guide will walkthrough how to deploy a simple Next.js app using Juno.
Prerequisites
- Download and install Node.js.
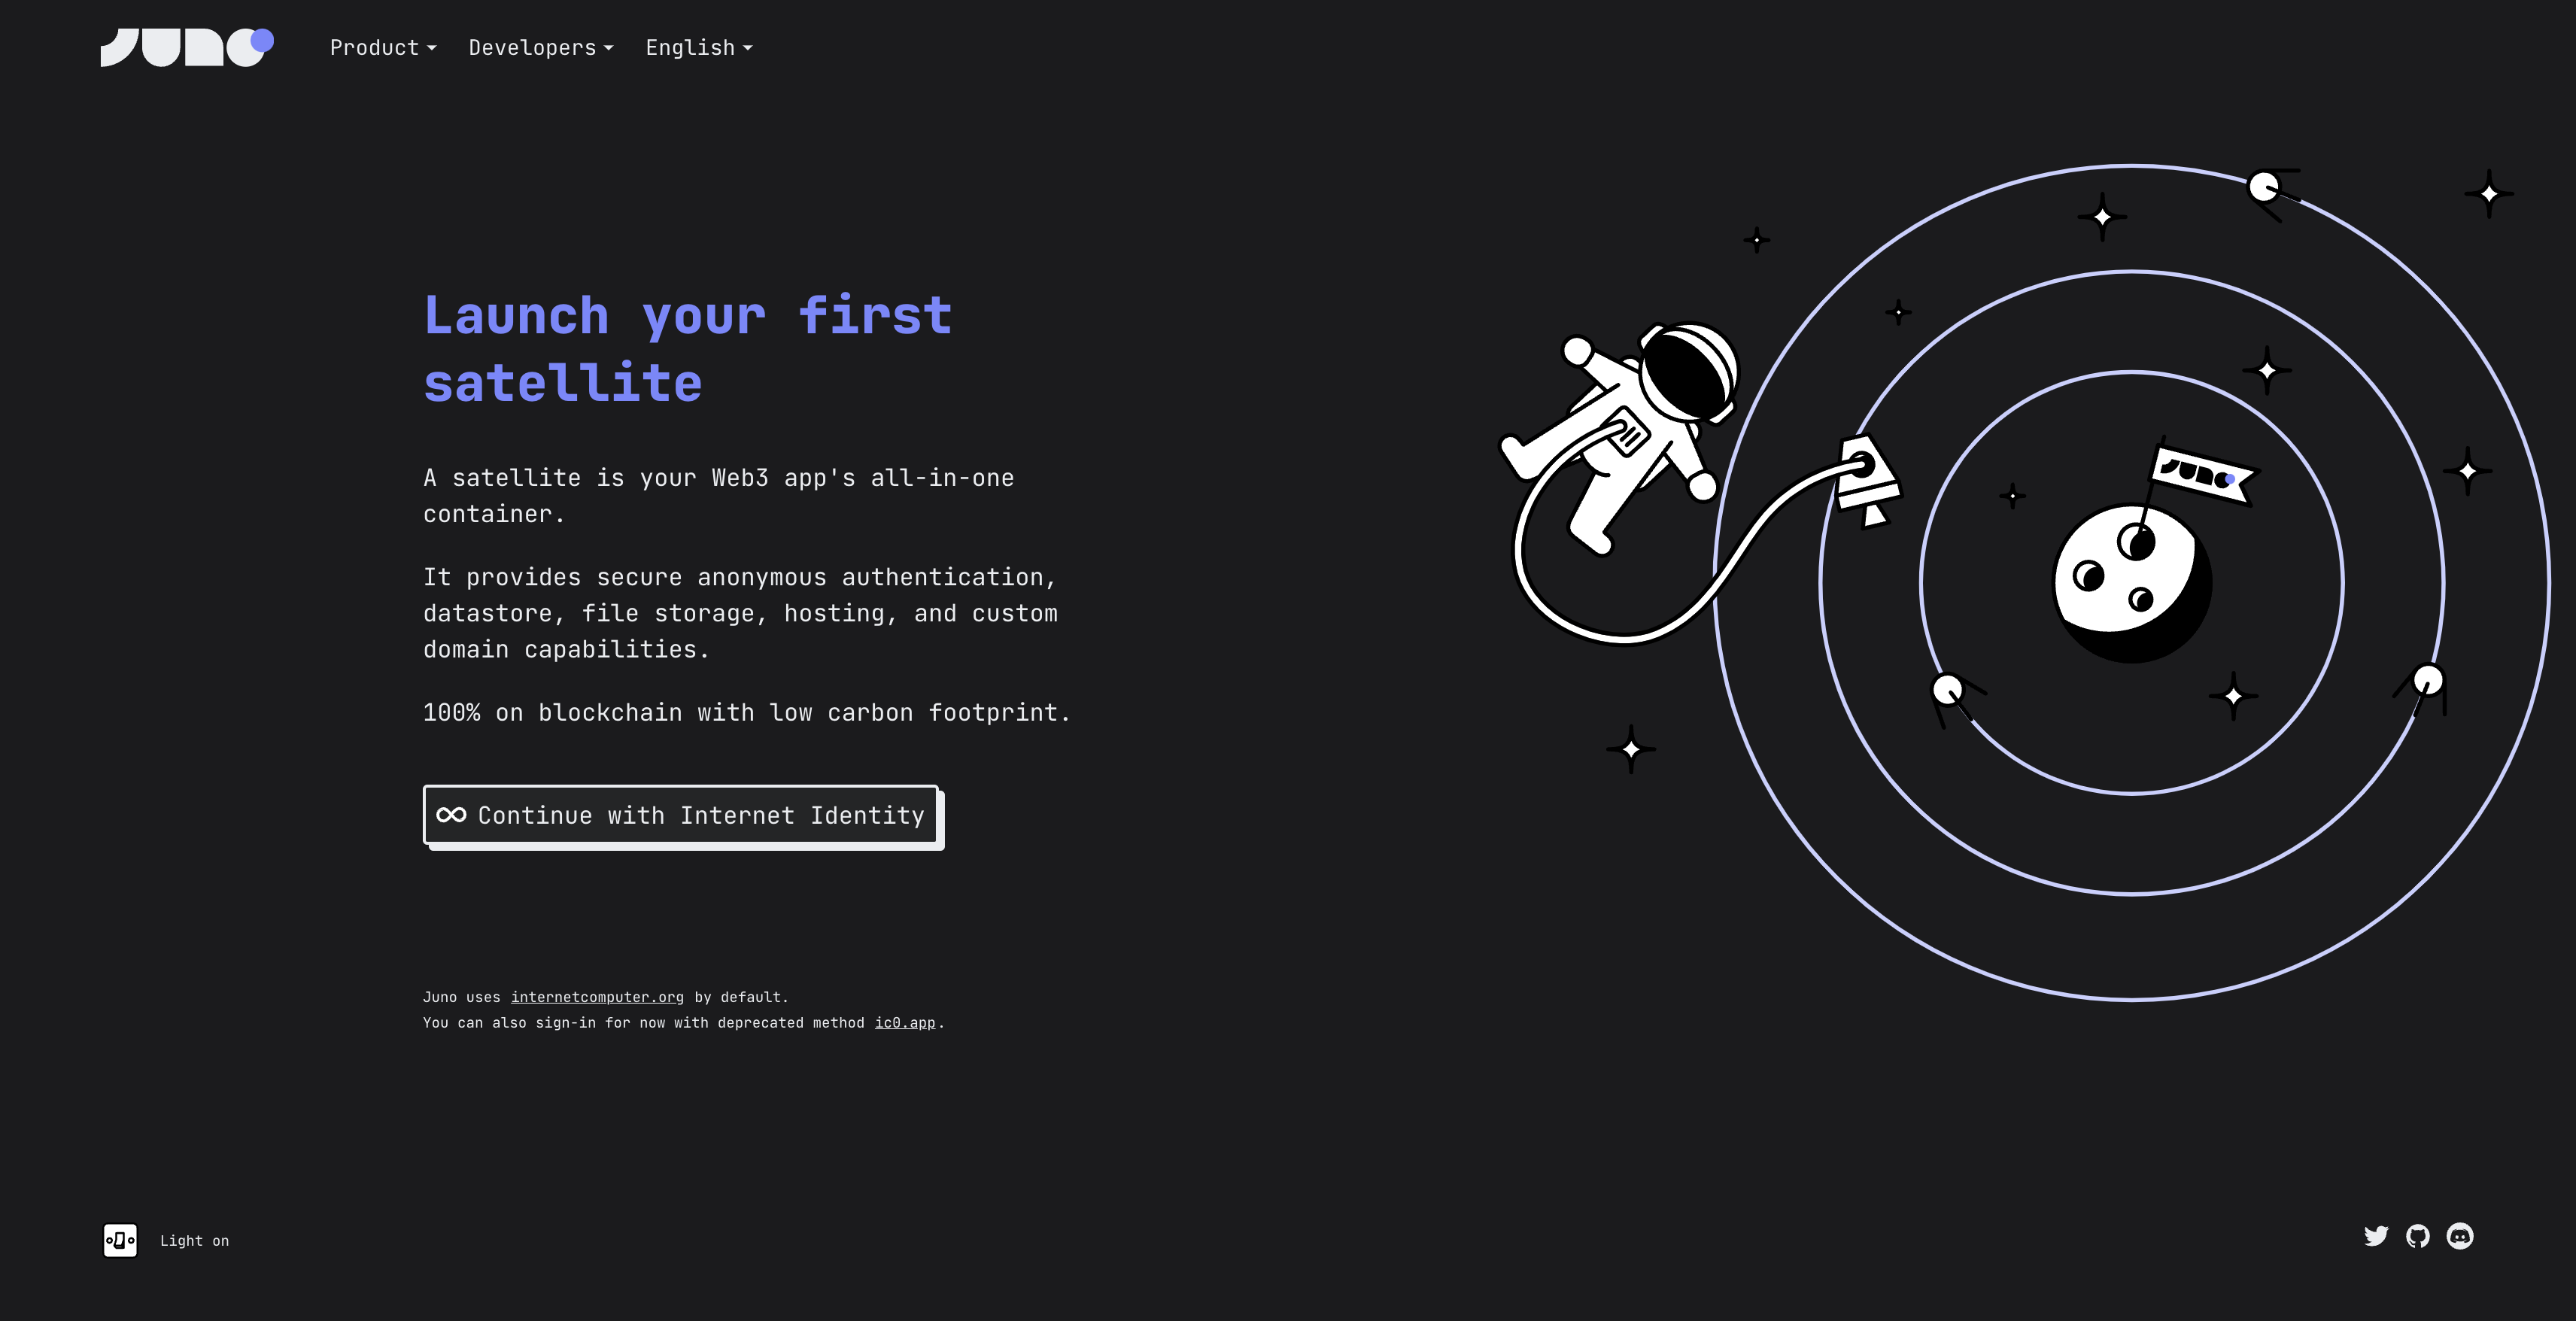
Creating a satellite
To create a Juno satellite, first navigate to the Juno web console.
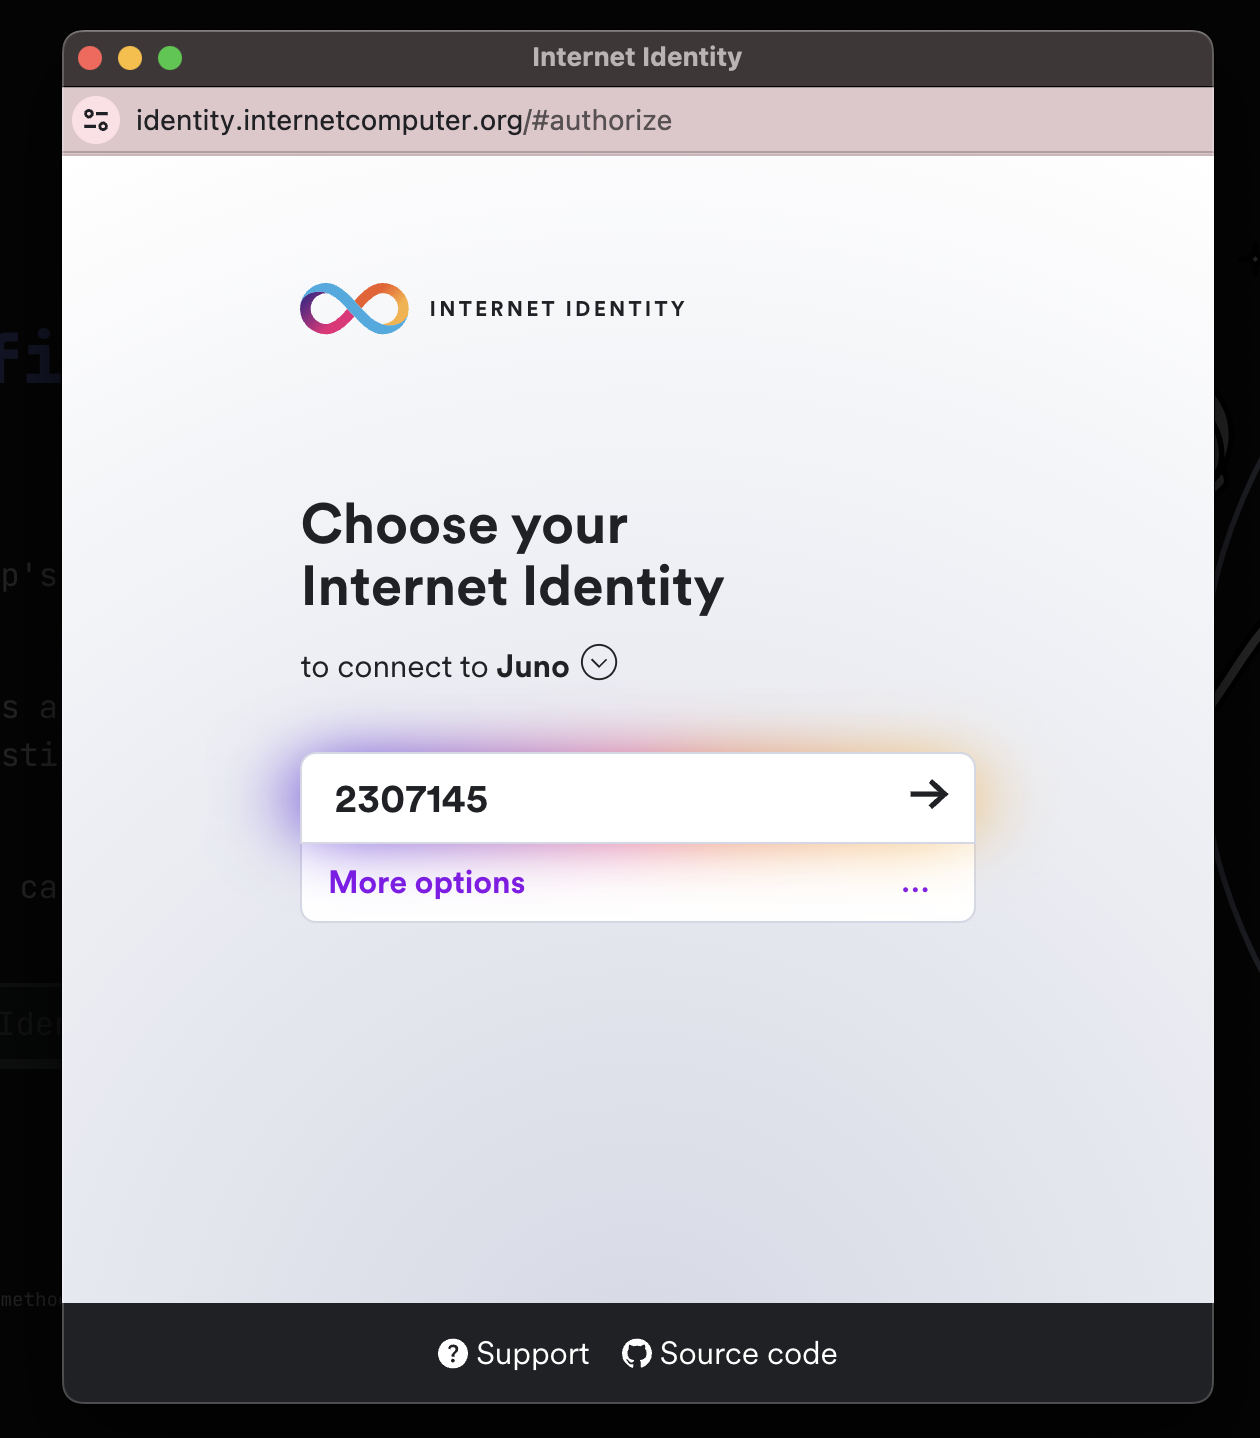
Select 'Continue with Internet Identity'. In the new window, select the Internet Identity you'd like to use:
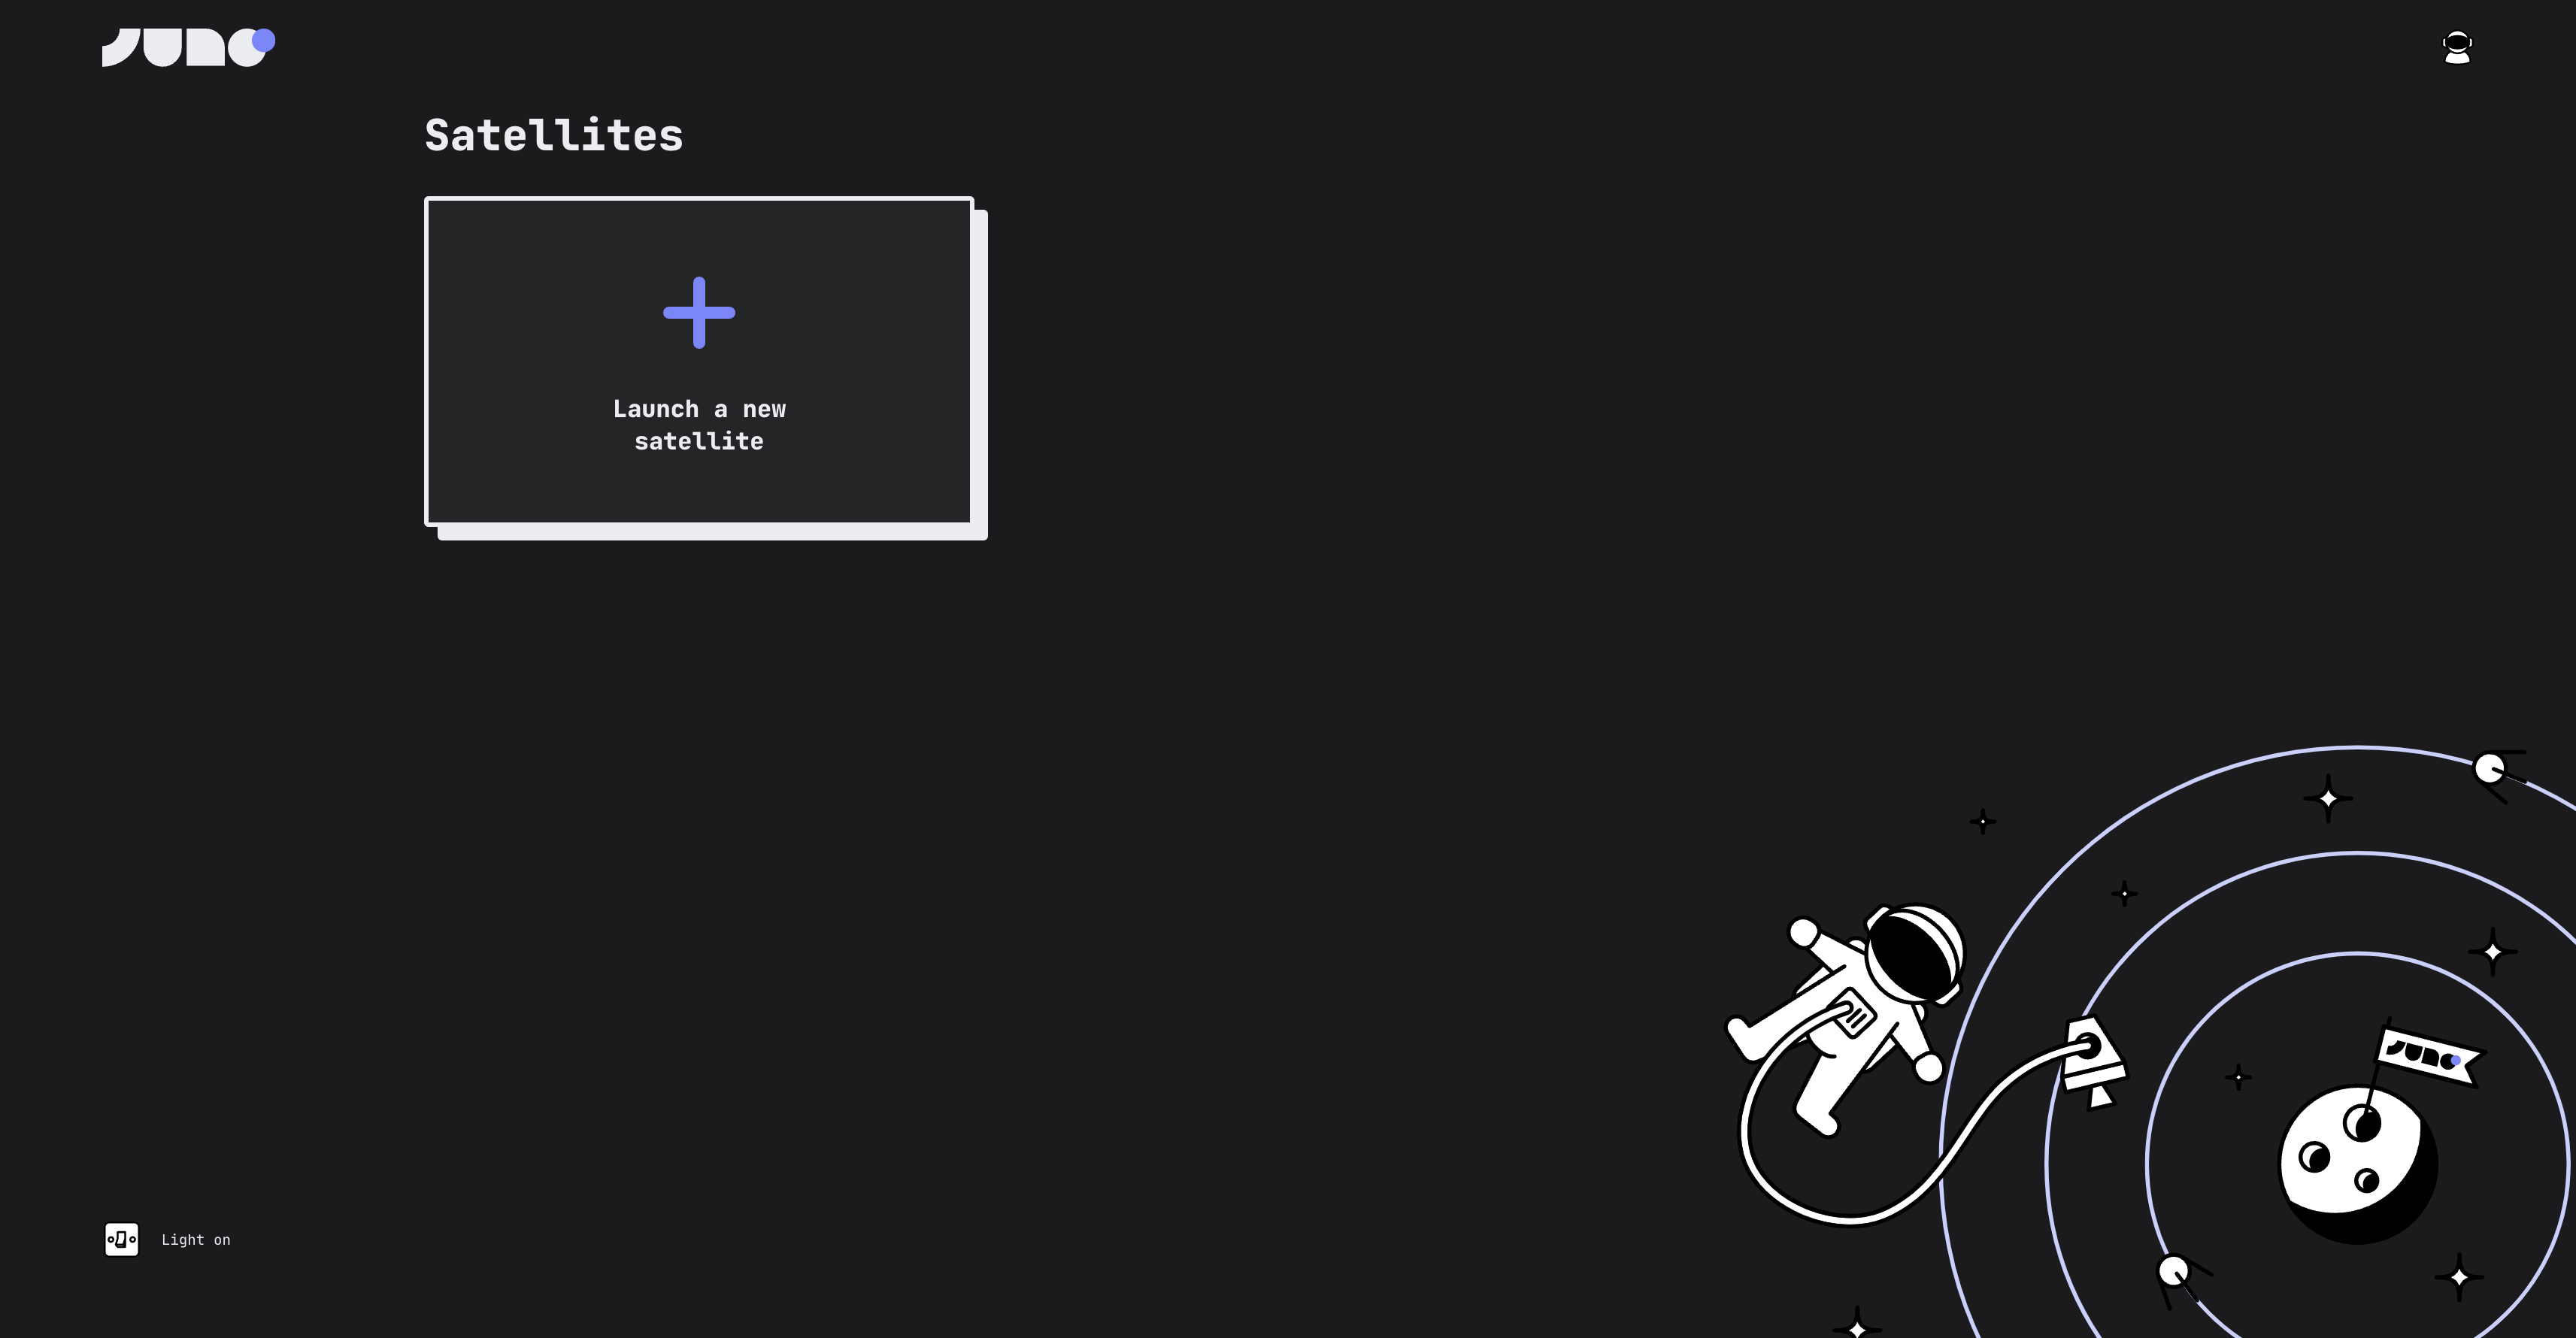
After logging in, you will be redirected back to the Juno dashboard. Select 'Launch a new satellite':
Give your satellite a name:

Once your satellite has been created, you will see its information in the dashboard. Satellite info includes the name, satellite ID, version, status, cycle consumption, and memory usage.
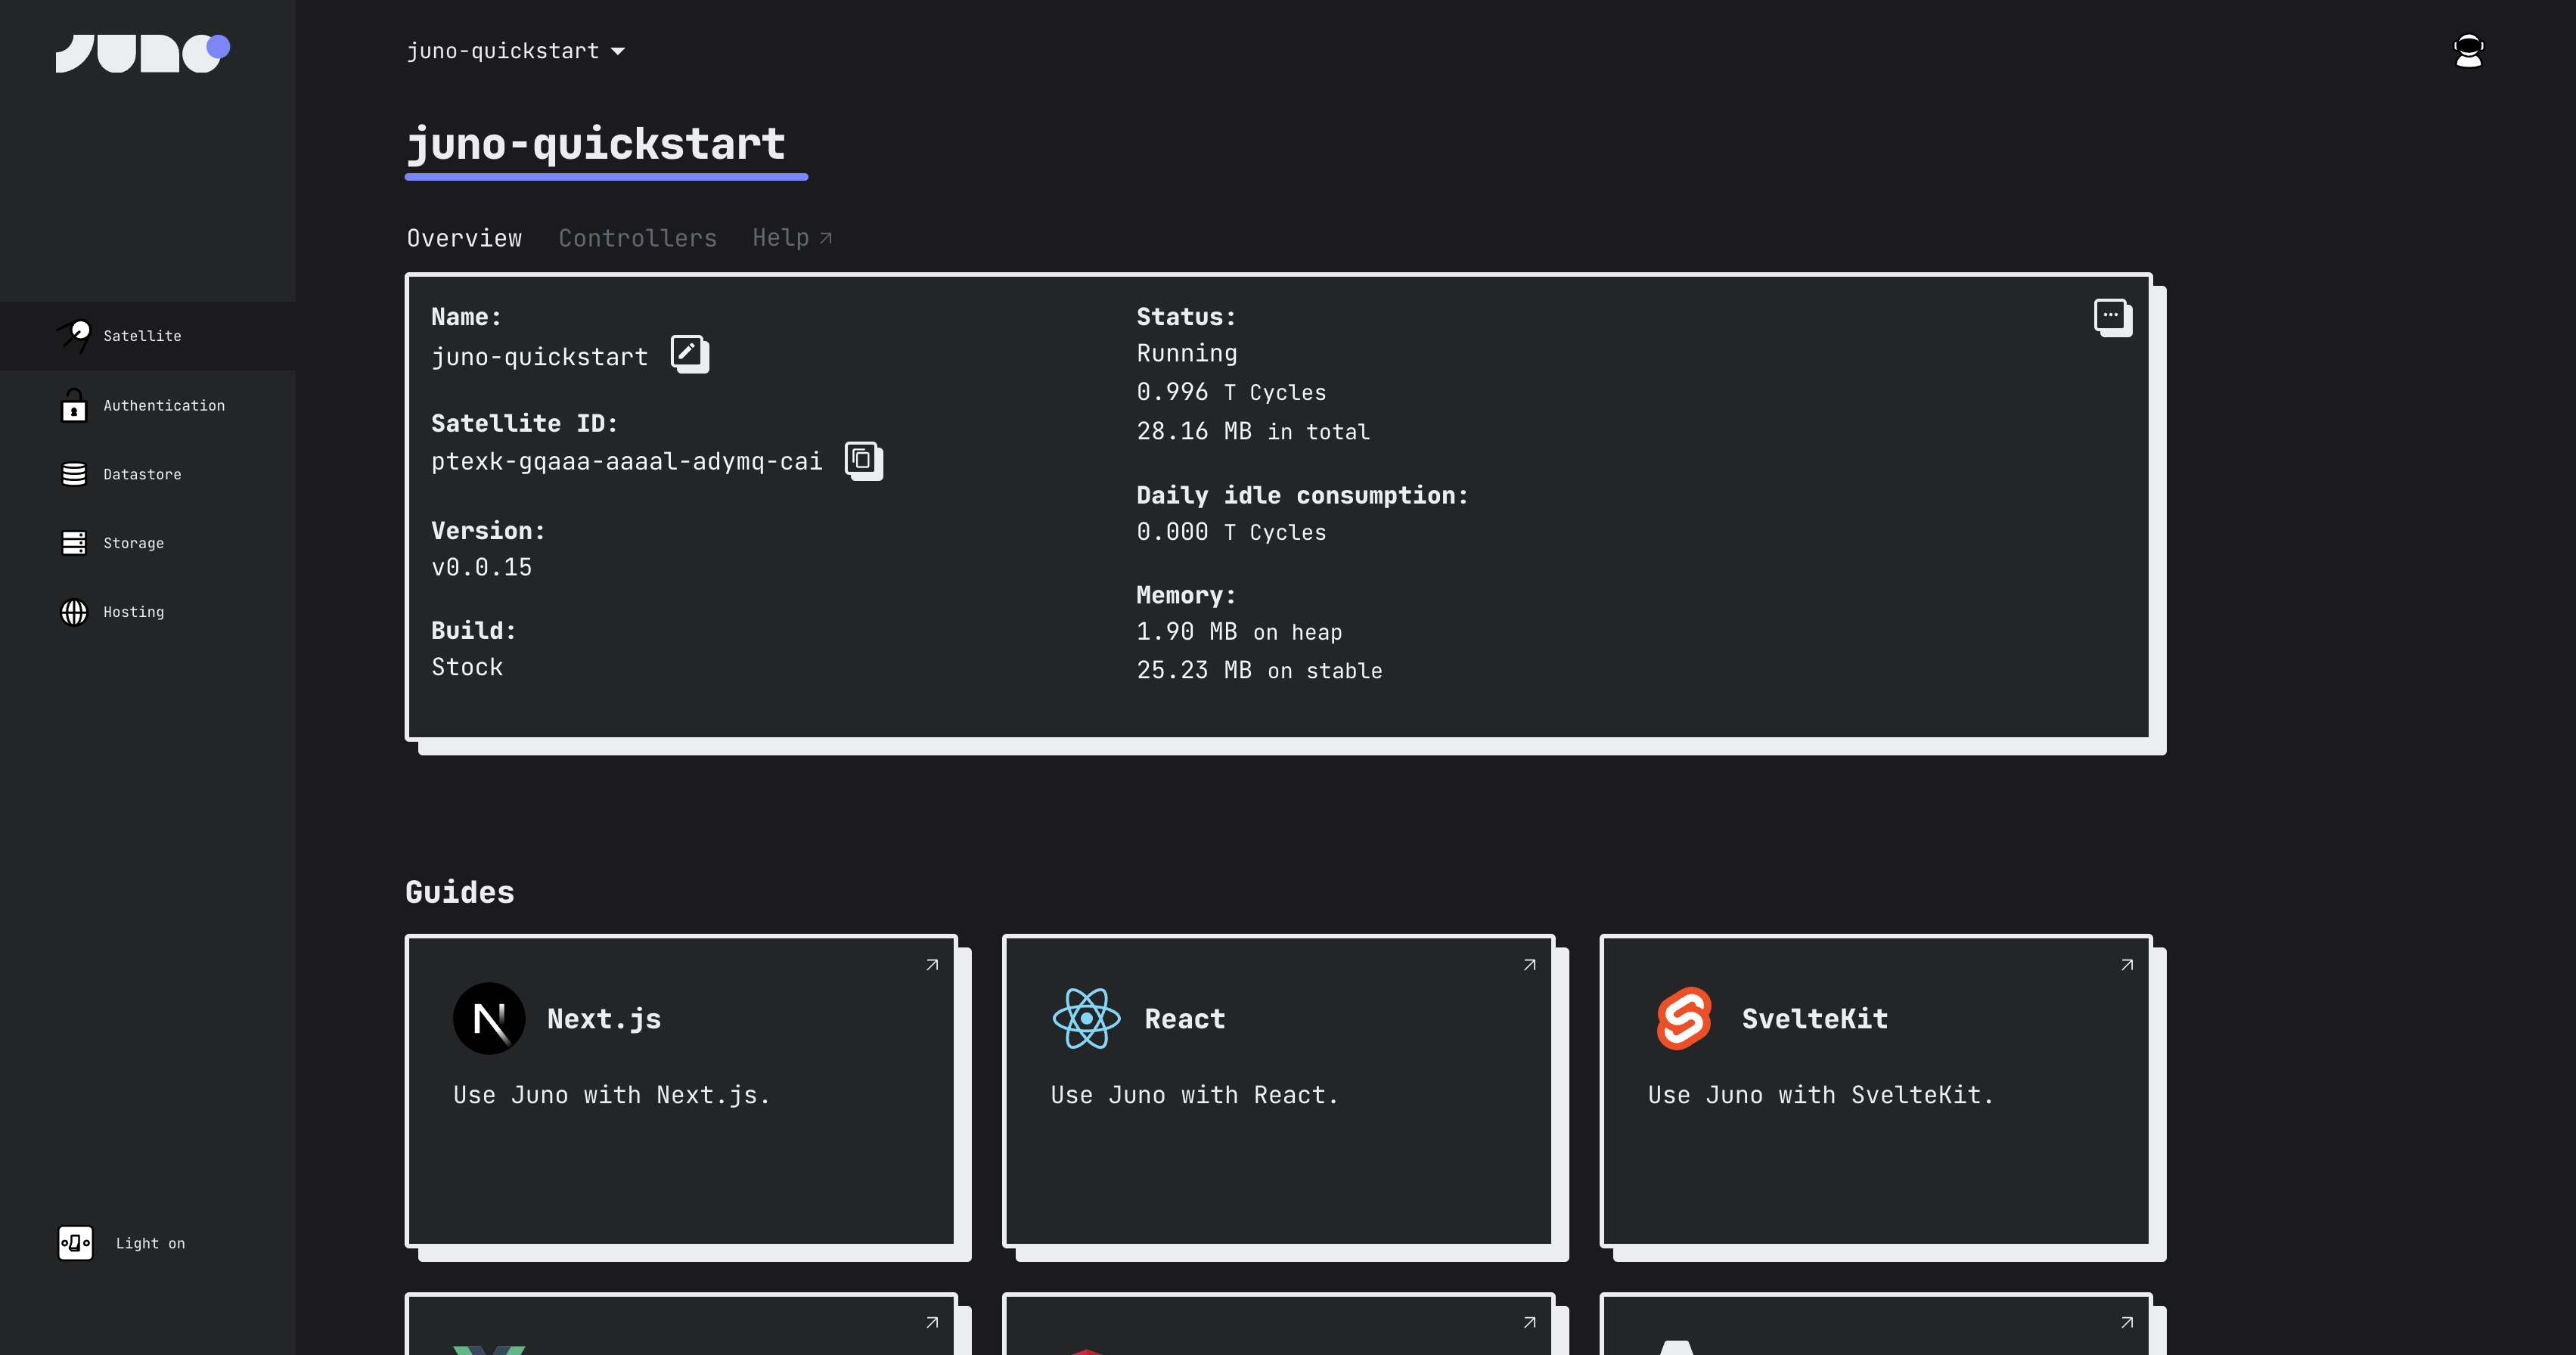
From this dashboard, you can view the controllers of the satellite and edit its settings such as:
Authentication: Enable or disable authentication methods such as NFID and Internet Identity.
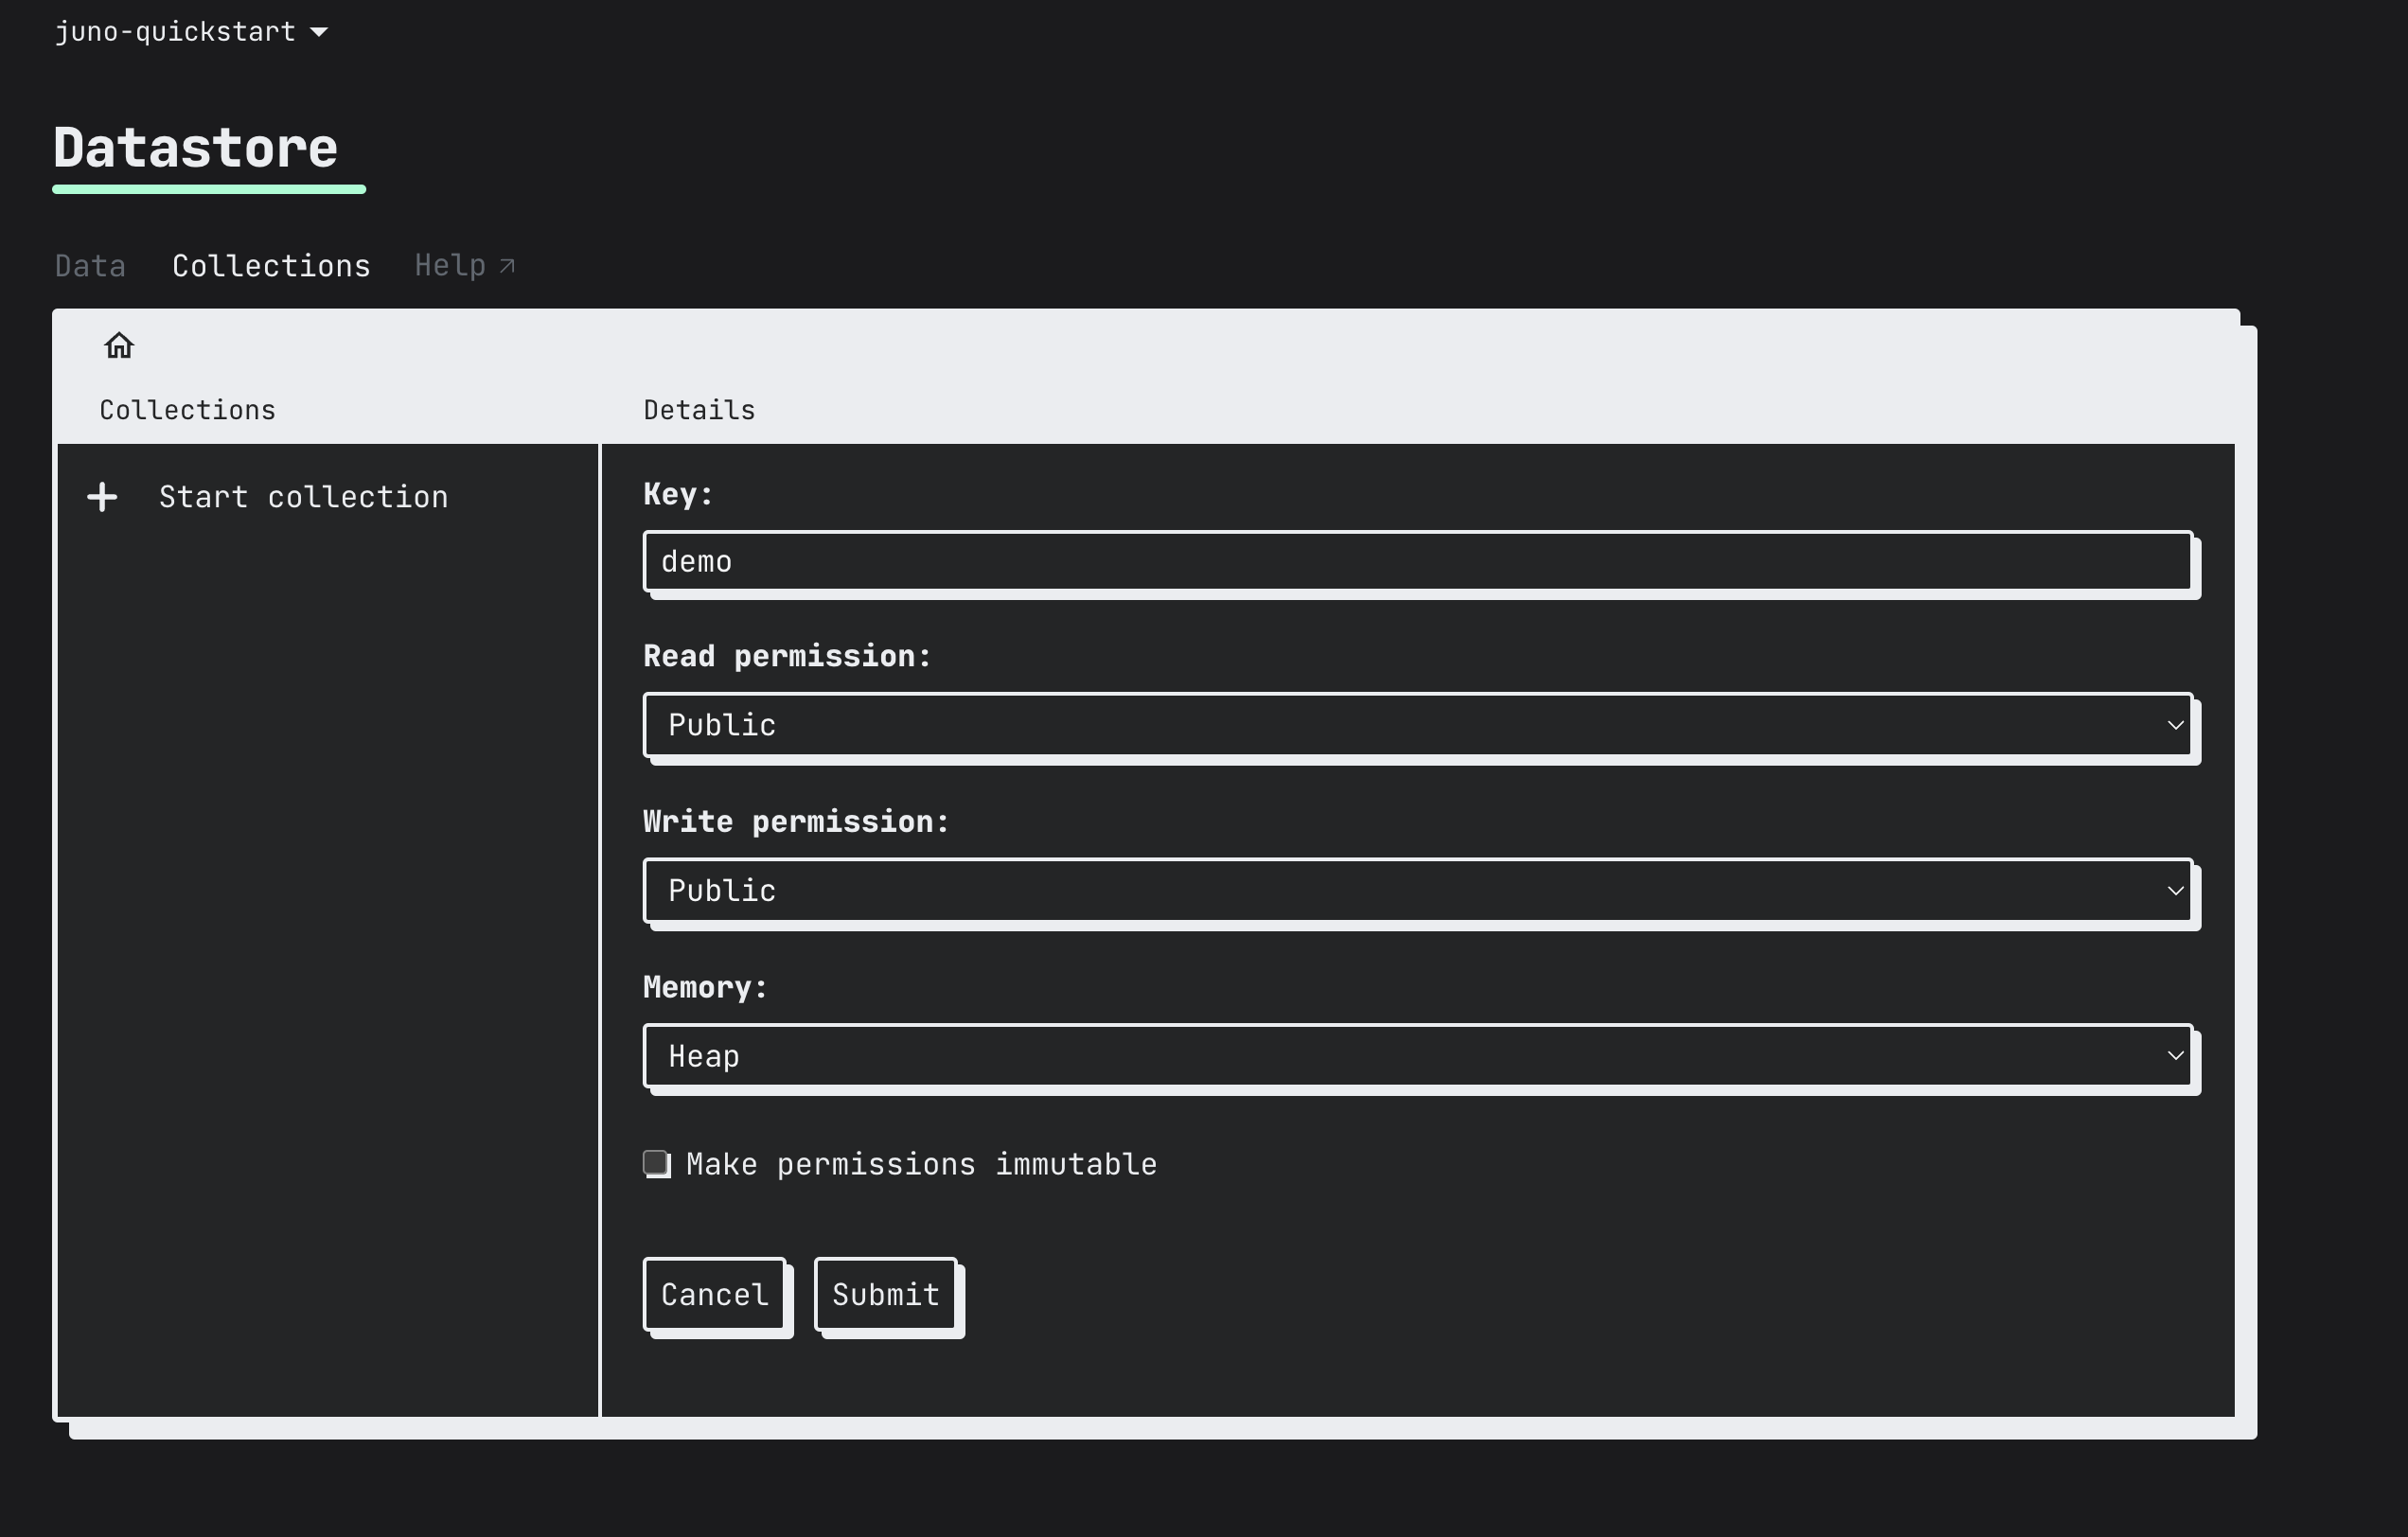
Datastore: Create a key-value store for your satellite.
Storage: Store and serve user-generated content.
Hosting: Configure a custom domain to host your satellite.
You can also manage the satellite's cycles balance, stop the satellite, or delete it.

Adding Next.js to your satellite
Currently, the satellite is running the default configuration and doesn't host any data or assets. To host assets, add a framework to your satellite. This example will use Next.js, but several JS frameworks are supported and documented.
First, open the command line and install the Juno SDK:
npm i @junobuild/core
npm i @junobuild/core-peer
Then, create a Next.js app with the command:
npx create-next-app@latest juno-quickstart
Navigate into the directory for this new app and open the src/app/page.tsx file. Replace the existing code with the following example to create a function that persists a document:
This example uses TypeScript. JavaScript may be used instead if desired.
"use client";

import { useEffect, useState } from "react";
import { type Doc, initJuno, setDoc } from "@junobuild/core-peer";

type Record = {
  hello: string;
};

export default function Home() {
  const [record, setRecord] = useState<Doc<Record> | undefined>(undefined);

  // TODO: Replace 'satelliteId' with your actual satellite ID
  useEffect(() => {
    (async () =>
      await initJuno({
        satelliteId: "aaaaa-bbbbb-ccccc-ddddd-cai",
      }))();
  }, []);

  const insert = async () => {
    const doc = await setDoc({
      collection: "demo",
      doc: {
        key: `my-key-${new Date().getTime()}`,
        data: {
          hello: "world",
        },
      },
    });

    setRecord(doc);
  };

  return (
    <>
      <button onClick={insert}>Insert a document</button>
      {record !== undefined && <span>Key: {record.key}</span>}
    </>
  );
}
In this code, replace satelliteId with your Satellite ID shown in the Juno console.
This code uses a datastore collection called 'demo'. You will need to go to your satellite settings in the console, select 'Datastore', then select 'Start collection' to create a new datastore.
Configure your datastore settings as desired. For this example, the permissions will be public.
Then, build and start the dapp with the commands:
npm run build
npm run start
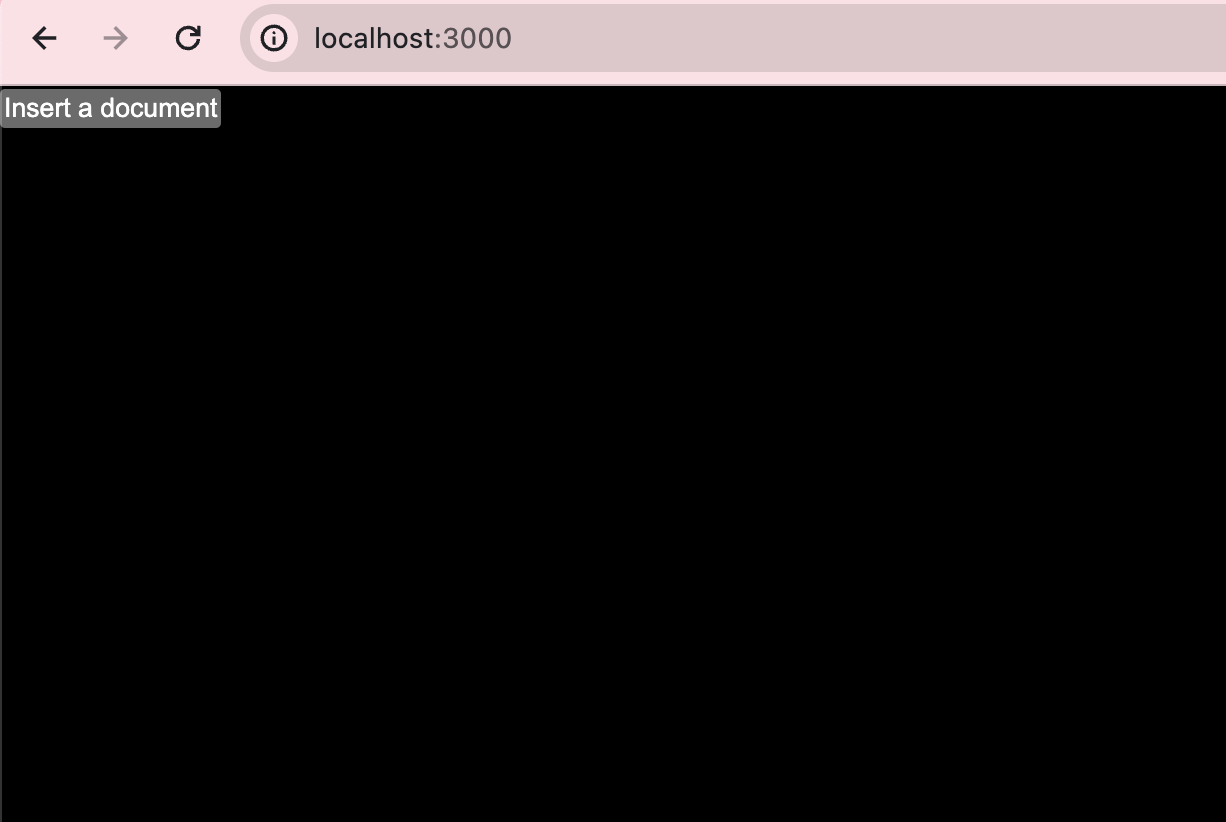
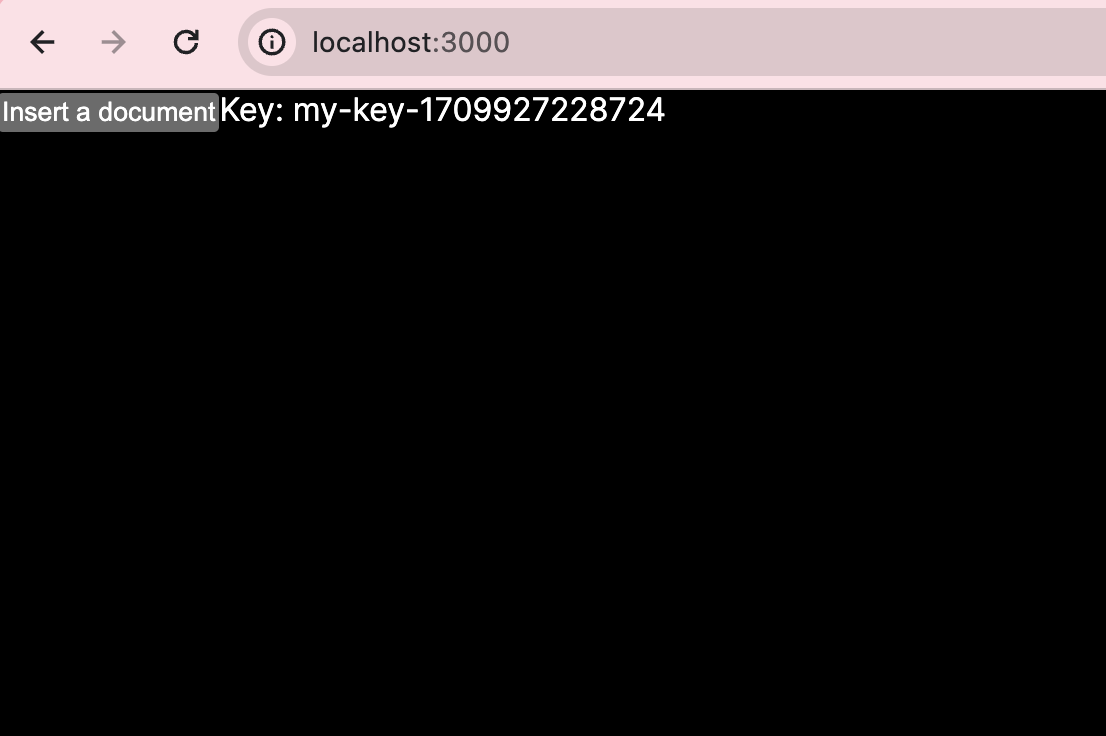
Open your dapp at the local URL http://localhost:3000. It will show a simple 'Insert a document' button. When this button is clicked, it will insert a document into the new datastore you created.
The document's key value will be returned.
You can view all the data values stored in your datastore by viewing the datastore content in the Juno console.

Deploy your dapp
To deploy your dapp onto Juno, first install the Juno CLI tool:
npm i -g @junobuild/cli
Then, run the following command to log into your satellite:
juno login
This will open the Juno console in a browser. Follow the prompt to grant access to your local developer environment.
Then, deploy your dapp to Juno with the command:
juno deploy