4.3 ckBTC and Bitcoin integration
Overview
One of the key features of the Internet Computer is known as chain-key cryptography. Chain-key cryptography is a feature that encompasses several cryptographic mechanisms that enable novel workflows and functionalities such as chain-key tokens. Chain-key tokens are not wrapped tokens; they are twin tokens that are backed 1:1 with the original token (BTC, ETC) that use chain-key cryptography to transfer and use the original tokens with less fees and higher transfer speeds than using the token's native blockchain network.
Currently, ICP supports an integration with the Bitcoin network that includes the chain-key bitcoin (ckBTC) token, and has an Ethereum integration in development.
In this tutorial and other pages of ICP developer documentation, note the use of the lowercase version of bitcoin, which refers to the token BTC, and use of the uppercase version Bitcoin, which refers to the Bitcoin network itself. This capitalization distinction is in accordance with the Bitcoin style guide.
Bitcoin integration architecture
Through ICP's integration with the Bitcoin network, canisters deployed on ICP are able to receive, hold, and send bitcoin. Each of these functions utilize transactions on the Bitcoin network, and allow canisters to act as if they are users on the Bitcoin network.
At the core of this integration is a novel protocol for chain-key signatures that is based on threshold ECDSA. Threshold ECDSA is a protocol suite that includes several features that include key generation, periodic key re-sharing, computing pre-signatures, XNet key re-sharing, and public key retrieval.
On a high level, subnets that have ECDSA enabled hold a threshold ECDSA master key, which is generated using ICP's key generation protocol. A master key can be used to generate canister ECDSA keys. It is important to know that an ECDSA private key only exists in a secret-shared form during it's lifetime, whether it is being generated, shared within a subnet, or shared from one subnet to another.
The developer journey will dive deeper into threshold ECDSA in a future tutorial. You can also take a deep dive in the technology overview to learn more.
On the protocol-level, the Bitcoin integration and chain-key ECDSA each expose an API on the management canister. Remember that the management canister isn't a canister but a facade that is used to enable functionality for management operations such as starting or stopping a canister. While the Bitcoin API is specific to the Bitcoin network, the chain-key ECDSA signature API can be used for other workflows, such as the integration with other blockchains like Ethereum.
For a canister to make a Bitcoin transaction, a request must be sent to a Bitcoin-enabled subnet. On that subnet, a Bitcoin canister is implemented as a typical NNS-managed canister that is accessible through the management canister Bitcoin API. The Bitcoin canister holds ICP's on-chain Bitcoin state, which includes the UTXO set, the most recent Bitcoin blocks, and the current outgoing transactions being sent to the Bitcoin network. When a canister submits a transaction to the Bitcoin management canister API, the transaction is queued to be submitted to the Bitcoin network. To send transactions to the Bitcoin network, an adapter connects to the nodes of the Bitcoin network and functions similarly to a traditional Bitcoin node. In every subnet round, the Bitcoin adapter obtains the pending transactions and queues them for being submitted asynchronously.
What is ckBTC?
The ckBTC token is an on-chain ICP token that is backed 1:1 by bitcoin (BTC), where 1 BTC can be redeemed for 1 ckBTC, and vise versa. The unique chain-key cryptography used to create ckBTC makes it different from other tokens that are pegged to the price of BTC, such that other tokens typically rely on a third-party bridge to convert BTC to the pegged token. ckBTC does not use a third-party bridge, making it more secure than other pegged, or 'wrapped', tokens.
In comparison to traditional BTC, ckBTC has much faster transfers at a much cheaper rate. A ckBTC transfer is finalized within seconds and costs 0.0000001 ckBTC, which is approximately two orders of magnitude lower than the traditional Bitcoin miner fees.
The functionality of ckBTC is provided through the combination of two canisters:
The ckBTC minter: The minter is responsible for minting and burning ckBTC. New ckBTC tokens are minted whenever the ckBTC minter receives bitcoin and burns ckBTC tokens whenever an owner of ckBTC tokens requests a withdrawal of bitcoin.
The ckBTC ledger: The ledger is responsible for transferring ckBTC between accounts and keeping a record of account balances.
Bitcoin use-cases on ICP
The ICP's Bitcoin integration enables use-cases such as:
ckBTC: An ICRC-2 compliant 'twin token' using chain-key cryptography that is backed 1:1 by bitcoins.
Decentralization swaps: ckBTC can be used to buy tokens in an SNS decentralization swap.
Bitcoin smart contracts: Canisters can hold bitcoin directly on the Bitcoin network, allowing powerful smart contracts to offer Bitcoin functionality. For example, on-chain Bitcoin wallets that use biometric authentication would allow users to complete Bitcoin transactions within the application without managing a Bitcoin private key.
Trading bitcoin: ckBTC can be traded directly on decentralized exchanges for bitcoin without third-party custody of the assets.
Deploying a Bitcoin dapp
In this tutorial, you'll be deploying an example application using a local instance of the Bitcoin network and then simulate Bitcoin transactions using it. This example showcases ICP's Bitcoin integration, however it does not use ckBTC.
Developing with ckBTC uses a different workflow, which will be showcased in a future variation of the developer journey series focused entirely on ckBTC.
For this tutorial, you'll take a look at developing and testing a Bitcoin dapp using dfx, which supports both the Bitcoin API and the ECDSA API.
Prerequisites
Before you start, verify that you have set up your developer environment according to the instructions in 0.3 Developer environment setup.
Setting up a local Bitcoin network
To develop a Bitcoin dapp locally, first a local Bitcoin network instance must be running. A local Bitcoin network allows developers to mine blocks quickly, which facilitates testing without having to rely on the slow Bitcoin testnet or the Bitcoin mainnet.
To get started, first download the Bitcoin core. It is recommended to use the .tar.gz version for Mac users.
At the time of this guide, the latest version is Bitcoin 25.0. If you are downloading another version, be sure to change the version number in the following commands.
Then, unpack the .tar.gz file with the command:
tar -xfz bitcoin-25.0-x86_64-apple-darwin.tar.gz
Navigate into the newly unpacked directory and create a new empty directory called data:
cd bitcoin-25.0
mkdir data
Then, while still in the root directory of bitcoin-25.0, open the bitcoin.conf file and insert the following content at the beginning of the file:
# Enable regtest mode. This is required to setup a private bitcoin network.
regtest=1

# Dummy credentials that are required by `bitcoin-cli`.
rpcuser=ic-btc-integration
rpcpassword=QPQiNaph19FqUsCrBRN0FII7lyM26B51fAMeBQzCb-E=
rpcauth=ic-btc-integration:cdf2741387f3a12438f69092f0fdad8e$62081498c98bee09a0dce2b30671123fa561932992ce377585e8e08bb0c11dfa
This snippet of configuration enables regtest mode, which is required for a local, private Bitcoin network instance. 'Regtest' is short for "regression testing mode." Then, it sets some test credentials that will be used by the Bitcoin network for authentication.
Then, start the local Bitcoin instance with the command:
./bin/bitcoind -conf=$(pwd)/bitcoin.conf -datadir=$(pwd)/data --port=18444
The above command uses port 18444, assuming it is available on your machine. If this port isn't available, specify a different port in the --port argument.
Once running, the Bitcoin instance will take a moment to spin up and synchronize block headers. Once synchronized, it is ready to use. The output will take up the entirety of the terminal window.
Cloning the basic_bitcoin example
Now that our local instance of the Bitcoin network is up and running, it's time to start developing a Bitcoin dapp locally.
To get started, open a new terminal window, navigate into your working directory (developer_journey), then use the following commands to clone the DFINITY examples repo and navigate into the basic_bitcoin directory:
git clone https://github.com/dfinity/examples/
cd examples/motoko/basic_bitcoin
A Rust version of this project exists at examples/rust/basic_bitcoin.
Then, start the local replica with the command:
dfx start --clean --background
Once the local replica has been started, it should return output that indicates it has connected to the local Bitcoin node:
Oct 17 21:09:20.046 INFO s:/n:/ic_btc_adapter/ic_btc_adapter Starting the adapter with config: {
  "network": "regtest",
  "dns_seeds": [],
  "nodes": [
    "127.0.0.1:18444"
  ],
  "socks_proxy": null,
  "idle_seconds": 3600,
  "ipv6_only": false,
  "logger": {
    "node_id": 100,
    "dc_id": 200,
    "level": "info",
    "format": "text_full",
    "debug_overrides": [],
    "sampling_rates": {},
    "enabled_tags": [],
    "target": "Stdout",
    "block_on_overflow": true
  },
  "incoming_source": {
    "Path": "/var/folders/_k/vfkshzzs0yb6w81nh24q5ccm0000gn/T/ic-btc-adapter-socket.1416.1697576959"
  }
}
Creating canister: g4xu7-jiaaa-aaaan-aaaaq-cai (bitcoin integration)
Installing canister: bitcoin integration
2023-10-17 21:09:27.650935 UTC: [Canister g4xu7-jiaaa-aaaan-aaaaq-cai] Sending request: Initial(GetSuccessorsRequestInitial { network: Regtest, anchor: BlockHash([6, 34, 110, 70, 17, 26, 11, 89, 202, 175, 18, 96, 67, 235, 91, 191, 40, 195, 79, 58, 94, 51, 42, 31, 199, 178, 183, 60, 241, 136, 145, 15]), processed_block_hashes: [] })
Initialized replica.
Dashboard: http://localhost:49497/_/dashboard
::caution
If you receive the error message "Failed to connect to 127.0.0.1:18444 ::: Connecting to the stream timed out." this indicates that dfx isn't able to connect to your local Bitcoin instance. This error may occur if you used a port other than 18444 but did not edit the dfx.json file to reflect your custom port.
:::
The output will take up the terminal window, so open another terminal window and navigate back into the examples/motoko/basic_bitcoin directory.
This project uses submodules, which must be initialized using the command:
git submodule update --init --recursive
Then, install the llvm, binaryen, and cmake packages. If you're running on Mac, you can use Homebrew to install them:
brew install llvm binaryen cmake
Deploying the example canister
Now you can deploy your Bitcoin canister! To deploy the canister locally, run the command:
dfx deploy basic_bitcoin --argument '(variant { regtest })'
You will receive output that resembles the following:
Installing canisters...
Creating UI canister on the local network.
The UI canister on the "local" network is "bd3sg-teaaa-aaaaa-qaaba-cai"
Installing code for canister basic_bitcoin, with canister ID bkyz2-fmaaa-aaaaa-qaaaq-cai
Deployed canisters.
URLs:
  Backend canister via Candid interface:
    basic_bitcoin: http://127.0.0.1:4943/?canisterId=bd3sg-teaaa-aaaaa-qaaba-cai&id=bkyz2-fmaaa-aaaaa-qaaaq-cai
Your local Bitcoin dapp is ready to use! Let's take a look at how you can interact with it.
Generating a Bitcoin address
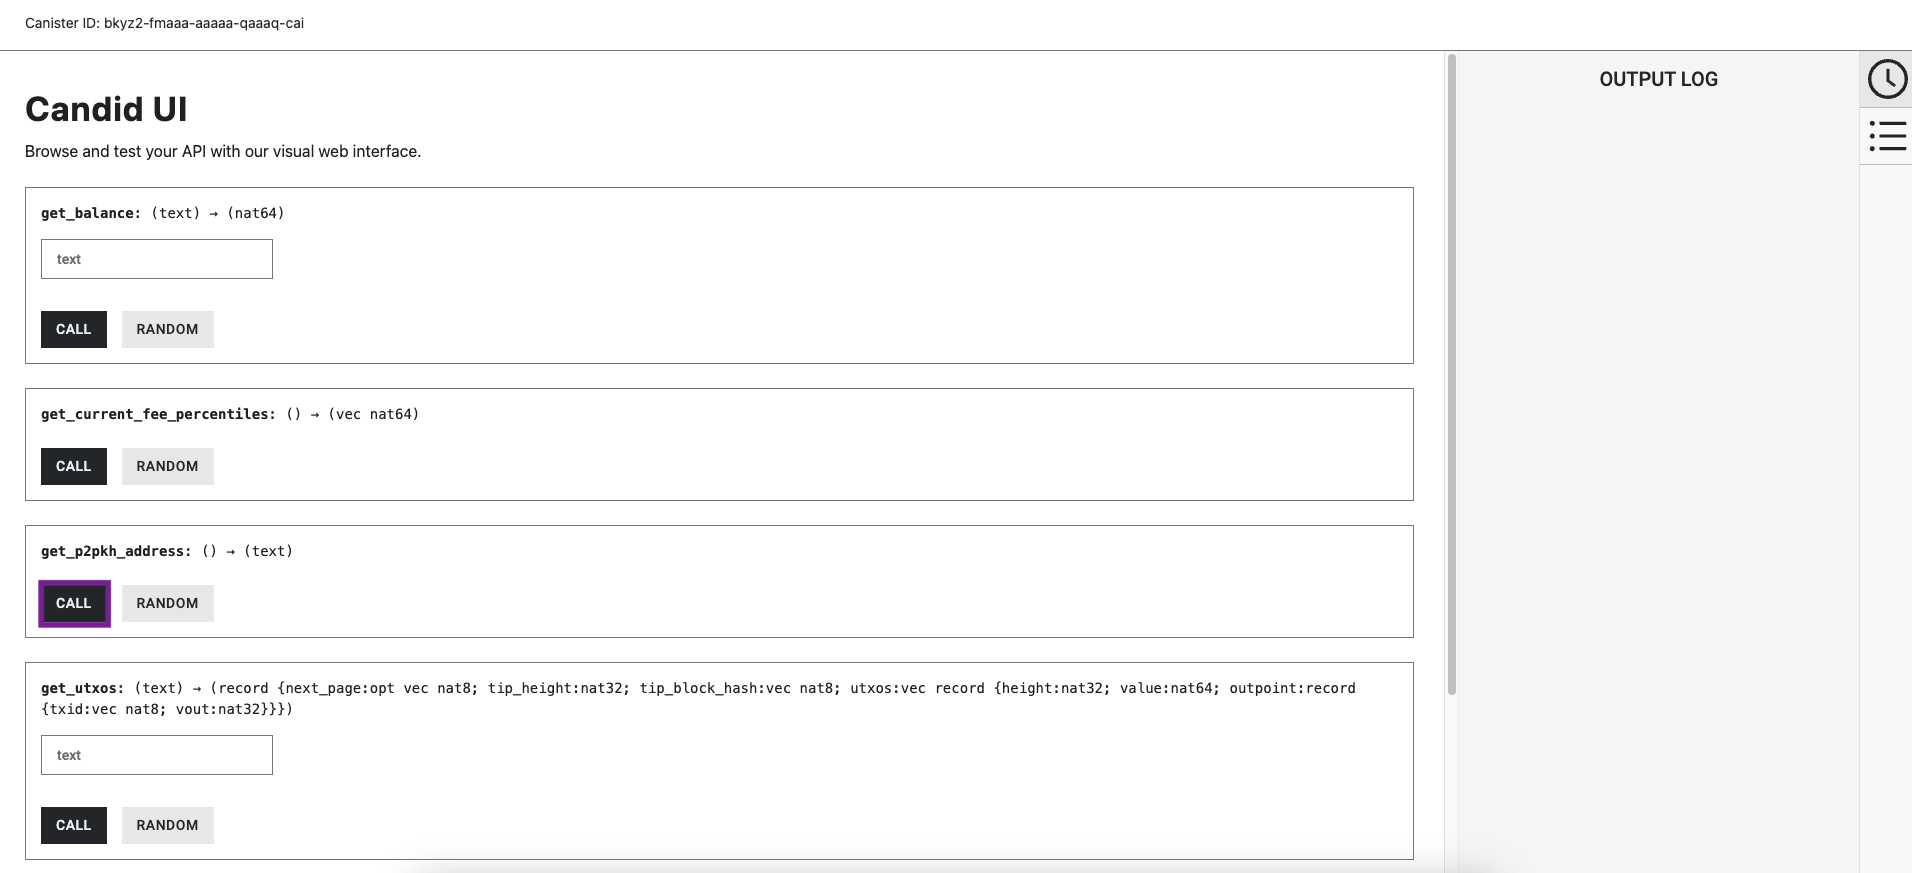
To receive Bitcoin, you will need a Bitcoin address. There are different types of Bitcoin addresses, such as a P2PKH address or a P2SH address. Most Bitcoin addresses can be generated using an ECDSA public key. In this Bitcoin example canister, the code contains an example that generates a P2PKH address using the ecdsa_public_key API.
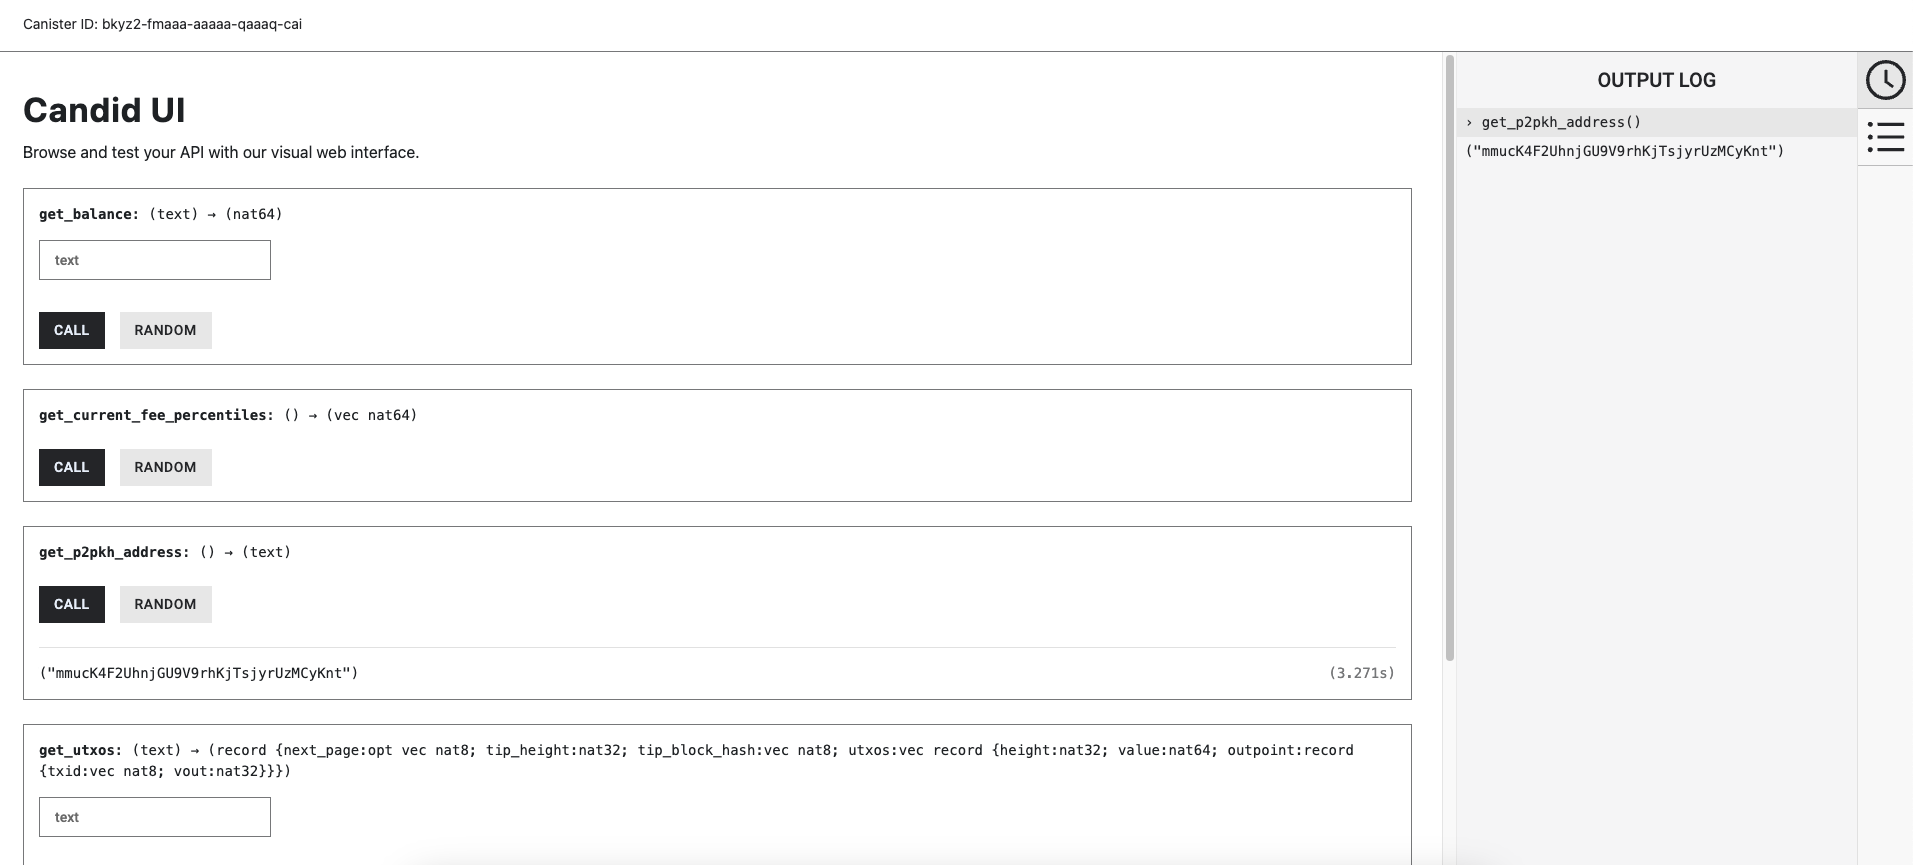
To generate a P2PKH address, make the following call to the canister's method get_p2pkh_address:
dfx canister call basic_bitcoin get_p2pkh_address
This command will return the generated P2PKH address:
("mmucK4F2UhnjGU9V9rhKjTsjyrUzMCyKnt")
Your output will be different, since each ECDSA public key is unique.
Alternatively, you can use the Candid UI. To use this method, open the Candid UI URL that was returned in the previous step when you deployed the basic_bitcoin canister.
In the Candid UI, find the get_p2pkh_address method, then select the Call button under it.
The P2PKH address will be returned in the UI:
Receiving BTC
To receive BTC on your local network, you need to mine blocks, since BTC are minted as a reward for mining a block. On the Bitcoin testnet and mainnet, you cannot control when blocks are mined. On tour local Bitcoin network, however, you can manually mine blocks using the following command within the bitcoind directory:
./bin/bitcoin-cli -conf=$(pwd)/bitcoin.conf generatetoaddress <number-of-blocks> <address>
For example, to mine a block and have the canister receive the BTC reward, use the command:
./bin/bitcoin-cli -conf=$(pwd)/bitcoin.conf generatetoaddress 1 BTC_ADDRESS
Replace BTC_ADDRESS with the generated P2PKH address you got in the last step.
If successful, you'll receive the hash of the block that was just mined, which resembles the following:
[
  "639b8cceef7f6da5a6cc56e6e6a4f7b11dc42416e94773a858ee5d004acb59c1"
]
In the terminal window that is showing the output of dfx start --clean --background, you will see a log that resembles:
Oct 17 21:57:40.893 INFO s:/n:/ic_btc_adapter/blockchainmanager Added headers: Height = 2, Active chain's tip = 7f592c802fd9bd33fe84b6c4016e46047e6b0b903a24a61e3e4446f0fd3d735d
This indicates that your canister has ingested the block as expected. The first block may take up to 30 seconds to sync, but subsequent blocks sync much faster.
Checking your BTC balance
To check the balance of your Bitcoin address to confirm that it received the BTC, run the following command:
dfx canister call basic_bitcoin get_balance '("BTC_ADDRESS")'
Replace BTC_ADDRESS with your generated P2PKH address. Our balance should be 5_000_000_00, which is equal to 50 BTC.
(5_000_000_000 : nat64)
Remember that this is a local deployment. The BTC you mine here is only valid on your local Bitcoin network for testing purposes, and cannot be spent or used anywhere else.
Sending BTC
Previously, you mined a single block and received a reward of 50 BTC for that block. One prerequisite to sending this BTC to someone else, however, is that first, 100 additional blocks must be mined. This is known as the Coinbase maturity rule.
To mine 100 additional blocks, run the command:
./bin/bitcoin-cli -conf=$(pwd)/bitcoin.conf generatetoaddress 100 BTC_ADDRESS
Replace BTC_ADDRESS with your generated P2PKH address.
You should receive output and dfx log entries similar to the ones you got for mining a single block.
Now you can send BTC using the canister's send endpoint. In this example, you'll send 1 BTC to the address n2dcQfuwFw7M2UYzLfM6P7DwewsQaygb8S. You can replace this address with any test address you would like.
dfx canister call basic_bitcoin send '(record { destination_address = "n2dcQfuwFw7M2UYzLfM6P7DwewsQaygb8S"; amount_in_satoshi = 100000000; })'
Note that this command sends BTC in 'satoshi'. 1 BTC is equivalent to 100_000_000 satoshi.
This command will create a transaction and send it to the local Bitcoin instance running. After running this command, you now need to mine a block so that the transaction you just sent becomes a part of the blockchain. Without mining a block, the transaction is not recorded on-chain.
In the bitcoind directory, run the following command to mine another block:
./bin/bitcoin-cli -conf=$(pwd)/bitcoin.conf generatetoaddress 1 mtbZzVBwLnDmhH4pE9QynWAgh6H3aC1E6M
Now, you can check that the address n2dcQfuwFw7M2UYzLfM6P7DwewsQaygb8S has a balance of 1 BTC:
dfx canister call basic_bitcoin get_balance '("n2dcQfuwFw7M2UYzLfM6P7DwewsQaygb8S")'
Resources
Need help?
Did you get stuck somewhere in this tutorial, or feel like you need additional help understanding some of the concepts? The ICP community has several resources available for developers, like working groups and bootcamps, along with our Discord community, forum, and events such as hackathons. Here are a few to check out:
Developer Discord community, which is a large chatroom for ICP developers to ask questions, get help, or chat with other developers asynchronously via text chat.
Motoko Bootcamp - The DAO Adventure - Discover the Motoko language in this 7 day adventure and learn to build a DAO on the Internet Computer.
Motoko Bootcamp - Discord community - A community for and by Motoko developers to ask for advice, showcase projects and participate in collaborative events.
Weekly developer office hours to ask questions, get clarification, and chat with other developers live via voice chat. This is hosted on our developer Discord group.
Submit your feedback to the ICP Developer feedback board.
Next steps
Next, you'll explore ICP's governance and token staking: